Drawing strawberries might sound intimidating, but trust me, it’s way easier than you think. Whether you’re a beginner or someone who’s just looking to improve their skills, this guide is here to help. From sketching the basic shapes to adding those juicy details, we’ve got you covered. So grab your pencil, some paper, and let’s dive into the world of strawberry drawing!
Drawing fruits like strawberries can be an amazing way to unleash your creativity. Plus, strawberries are just so adorable with their vibrant red color and cute little seeds. They’re like nature’s perfect art subject. If you’ve ever wanted to learn how to draw strawberries but didn’t know where to start, you’re in the right place.
This guide isn’t just about teaching you how to draw strawberries; it’s also about helping you understand the nuances of shapes, textures, and shading. By the end of this article, you’ll not only be able to create stunning strawberry drawings but also gain confidence in your artistic abilities. Ready to get started? Let’s go!
Read also:Exploring The World Of Sd Movies A Comprehensive Guide
Why Should You Learn Strawberry Drawing?
Strawberry drawing isn’t just for fun—it’s also a great way to develop your artistic skills. Drawing fruits like strawberries helps you focus on details, proportions, and textures, which are essential skills for any artist. Plus, strawberries are super versatile subjects. You can draw them in different styles, from realistic to cartoonish, depending on your preference.
Learning to draw strawberries can also boost your creativity and patience. It’s like a meditation session where you can forget about everything else and focus on creating something beautiful. And let’s be honest, who wouldn’t want to show off a perfectly drawn strawberry to their friends?
Benefits of Drawing Fruits Like Strawberries
Here are some benefits you might not have thought of:
- Improves hand-eye coordination
- Enhances your observation skills
- Helps you understand color theory
- Gives you a sense of accomplishment
- It’s a stress-reliever!
So whether you’re doing it for fun or as part of your artistic journey, strawberry drawing has a lot to offer. Let’s move on to the next step and learn how to get started!
Getting Started with Strawberry Drawing
Before we jump into the nitty-gritty of drawing strawberries, let’s talk about the basics. First things first, you’ll need the right tools. Don’t worry, you don’t need anything fancy to start. A simple pencil and paper will do the trick. But if you want to take it up a notch, here are some tools you might consider:
Essential Tools for Strawberry Drawing
- Pencils (HB, 2B, 4B)
- Eraser
- Sketchbook or drawing paper
- Colored pencils or markers (optional)
Once you’ve got your tools ready, it’s time to think about your workspace. Make sure you have a comfortable place to sit and plenty of light. Natural light is the best, but if that’s not possible, a good desk lamp will do the job. Now that you’re all set, let’s talk about the basic shapes.
Read also:The Intricacies Of Nip Slip Understanding Its Impact And Relevance
Understanding the Shape of a Strawberry
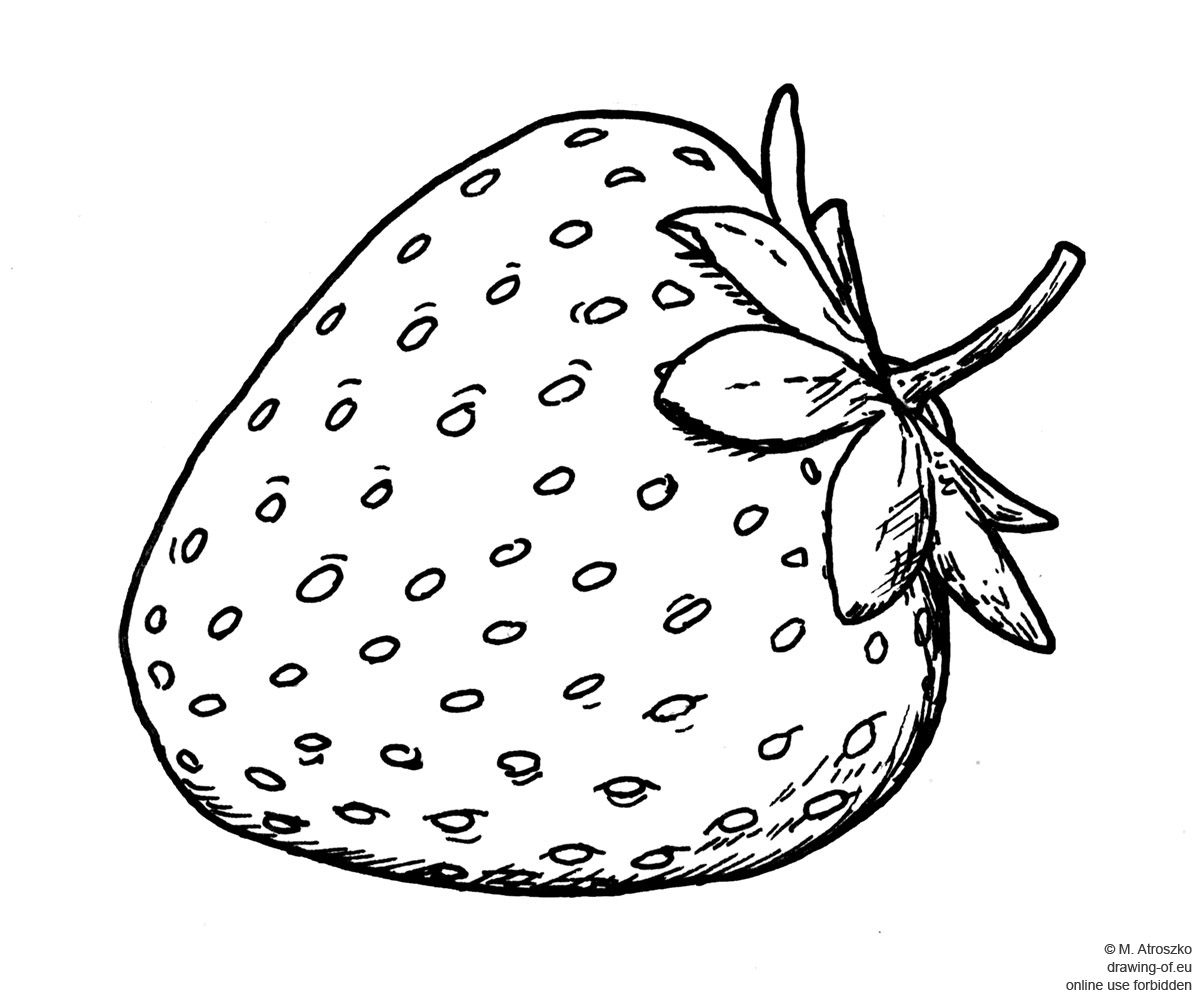
Strawberries might look simple, but they have a unique shape that can be a bit tricky to capture. The key is to break it down into basic shapes. Start with an oval or heart shape for the body of the strawberry. Then add the little leafy top, also known as the calyx. Once you’ve got the basic shape down, you can start adding details like the seeds and the texture of the skin.
Here’s a quick tip: Look at real strawberries or photos of strawberries to get a better understanding of their shape. Pay attention to how the seeds are arranged and how the skin looks. This will help you create a more realistic drawing.
Breaking Down the Strawberry Shape
Let’s break it down step by step:
- Draw an oval or heart shape for the body
- Add the calyx at the top
- Sketch in the seeds
- Refine the edges and add texture
By breaking the strawberry down into these basic shapes, you’ll find it much easier to draw. Now let’s move on to the next step and talk about adding details.
Adding Details to Your Strawberry Drawing
Once you’ve got the basic shape down, it’s time to add some details. This is where your drawing starts to come to life. Start by adding the seeds. Strawberries have a lot of seeds, so take your time and make sure they’re evenly spaced. You can also add some shading to give your strawberry a more three-dimensional look.
Don’t forget about the calyx! The little leafy top is an important part of the strawberry. Add some texture to the leaves to make them look more realistic. You can also add some veins to the leaves if you want to go the extra mile.
Tips for Adding Details
Here are some tips to help you add details to your strawberry drawing:
- Use a light touch when sketching the seeds
- Add shading to create depth
- Experiment with different textures
- Don’t be afraid to make mistakes
Remember, practice makes perfect. The more you draw, the better you’ll get at adding those little details that make your strawberries look amazing.
Shading Techniques for Realistic Strawberry Drawing
Shading is what gives your strawberry drawing that realistic look. There are several shading techniques you can use to create depth and dimension. Some popular techniques include hatching, cross-hatching, stippling, and blending. Each technique has its own unique look, so it’s worth experimenting with them to see which one you like best.
Here’s a quick breakdown of each technique:
- Hatching: Drawing parallel lines
- Cross-hatching: Drawing intersecting lines
- Stippling: Using dots to create shading
- Blending: Smudging the pencil lines to create a smooth gradient
When shading your strawberry, pay attention to where the light is coming from. This will help you determine where to add darker shades and where to leave lighter areas. With a little practice, you’ll be able to create stunningly realistic strawberries in no time.
Coloring Your Strawberry Drawing
Now that you’ve got the basic shape and details down, it’s time to add some color. Coloring your strawberry drawing can take it to the next level. You can use colored pencils, markers, or even watercolors to add color. The choice is yours!
When coloring strawberries, remember that they’re not just one solid color. They have different shades of red, from light pink to deep crimson. You can also add some green for the calyx and maybe even a little yellow for the seeds. Experiment with different color combinations to see what works best for you.
Choosing the Right Colors
Here are some tips for choosing the right colors:
- Use a variety of reds for the body
- Add green for the calyx
- Experiment with yellow for the seeds
- Don’t be afraid to mix colors
Coloring your strawberry drawing is all about having fun and expressing your creativity. So don’t be afraid to try new things and see what works best for you.
Common Mistakes to Avoid in Strawberry Drawing
Even the best artists make mistakes sometimes. The key is to learn from them and improve. Here are some common mistakes to avoid when drawing strawberries:
- Not paying attention to proportions
- Forgetting to add details like seeds and texture
- Over-shading and making the drawing look too dark
- Using the wrong colors
By being aware of these common mistakes, you’ll be able to avoid them and create better strawberry drawings. Remember, practice is key. The more you draw, the better you’ll get.
Advanced Techniques for Strawberry Drawing
Once you’ve mastered the basics, it’s time to take your strawberry drawing skills to the next level. There are several advanced techniques you can use to create even more stunning strawberry drawings. Some of these techniques include:
- Creating reflections and highlights
- Adding background elements
- Experimenting with different styles
Creating reflections and highlights can give your strawberry drawing a more realistic look. Adding background elements can help set the scene and make your drawing more interesting. And experimenting with different styles can help you find your own unique voice as an artist.
Experimenting with Different Styles
Here are some styles you might want to try:
- Realistic
- Cartoonish
- Abstract
- Minimalist
Don’t be afraid to try new things and see what works best for you. The more you experiment, the more you’ll grow as an artist.
Conclusion
In conclusion, strawberry drawing is a fun and rewarding activity that anyone can enjoy. Whether you’re a beginner or an experienced artist, there’s always something new to learn. By following the steps outlined in this guide, you’ll be able to create stunning strawberry drawings that you can be proud of.
So what are you waiting for? Grab your pencil and paper and start drawing those juicy strawberries today! And don’t forget to share your creations with us in the comments below. We’d love to see what you’ve come up with. Happy drawing!
Table of Contents
- Why Should You Learn Strawberry Drawing?
- Getting Started with Strawberry Drawing
- Understanding the Shape of a Strawberry
- Adding Details to Your Strawberry Drawing
- Shading Techniques for Realistic Strawberry Drawing
- Coloring Your Strawberry Drawing
- Common Mistakes to Avoid in Strawberry Drawing
- Advanced Techniques for Strawberry Drawing
- Conclusion