Drawing fire might seem like an intimidating challenge, but it’s actually one of the most rewarding skills you can master as an artist. Whether you’re a beginner or a seasoned pro, the art of fire drawing opens up a world of creativity and expression. Fire is dynamic, unpredictable, and full of life—just like the emotions we try to convey through our artwork. So, if you’ve ever wanted to bring that fiery energy to your canvas, this guide is for you.
Fire drawing isn’t just about sketching flames; it’s about capturing the essence of movement, heat, and intensity. Think about it—fire is more than just orange and yellow hues. It’s a blend of colors, textures, and shadows that come together to create something breathtaking. And guess what? You don’t need to be a pyromaniac to get started. All you need is a pencil, some paper, and a willingness to experiment.
Let’s dive into the world of fire drawing, where creativity meets passion. By the end of this article, you’ll not only know how to draw realistic flames but also how to incorporate fire into different art styles. So grab your tools and let’s ignite that artistic spark within you!
Read also:The Intriguing Height Of President Biden Unveiling Tall Biden
Table of Contents
- Understanding the Anatomy of Fire
- Tools You’ll Need for Fire Drawing
- Basic Techniques to Get You Started
- Choosing the Right Color Palette
- Advanced Tips for Realistic Flames
- Common Mistakes to Avoid in Fire Drawing
- Incorporating Fire into Different Art Styles
- Finding Inspiration for Your Fire Art
- Practice Ideas to Sharpen Your Skills
- Wrapping Up: Your Journey with Fire Drawing
Understanding the Anatomy of Fire
Before you put pencil to paper, it’s crucial to understand what makes fire… well, fire. Fire isn’t just a random collection of flames; it has structure, movement, and even personality. Knowing how fire behaves will help you create more realistic drawings. So, let’s break it down:
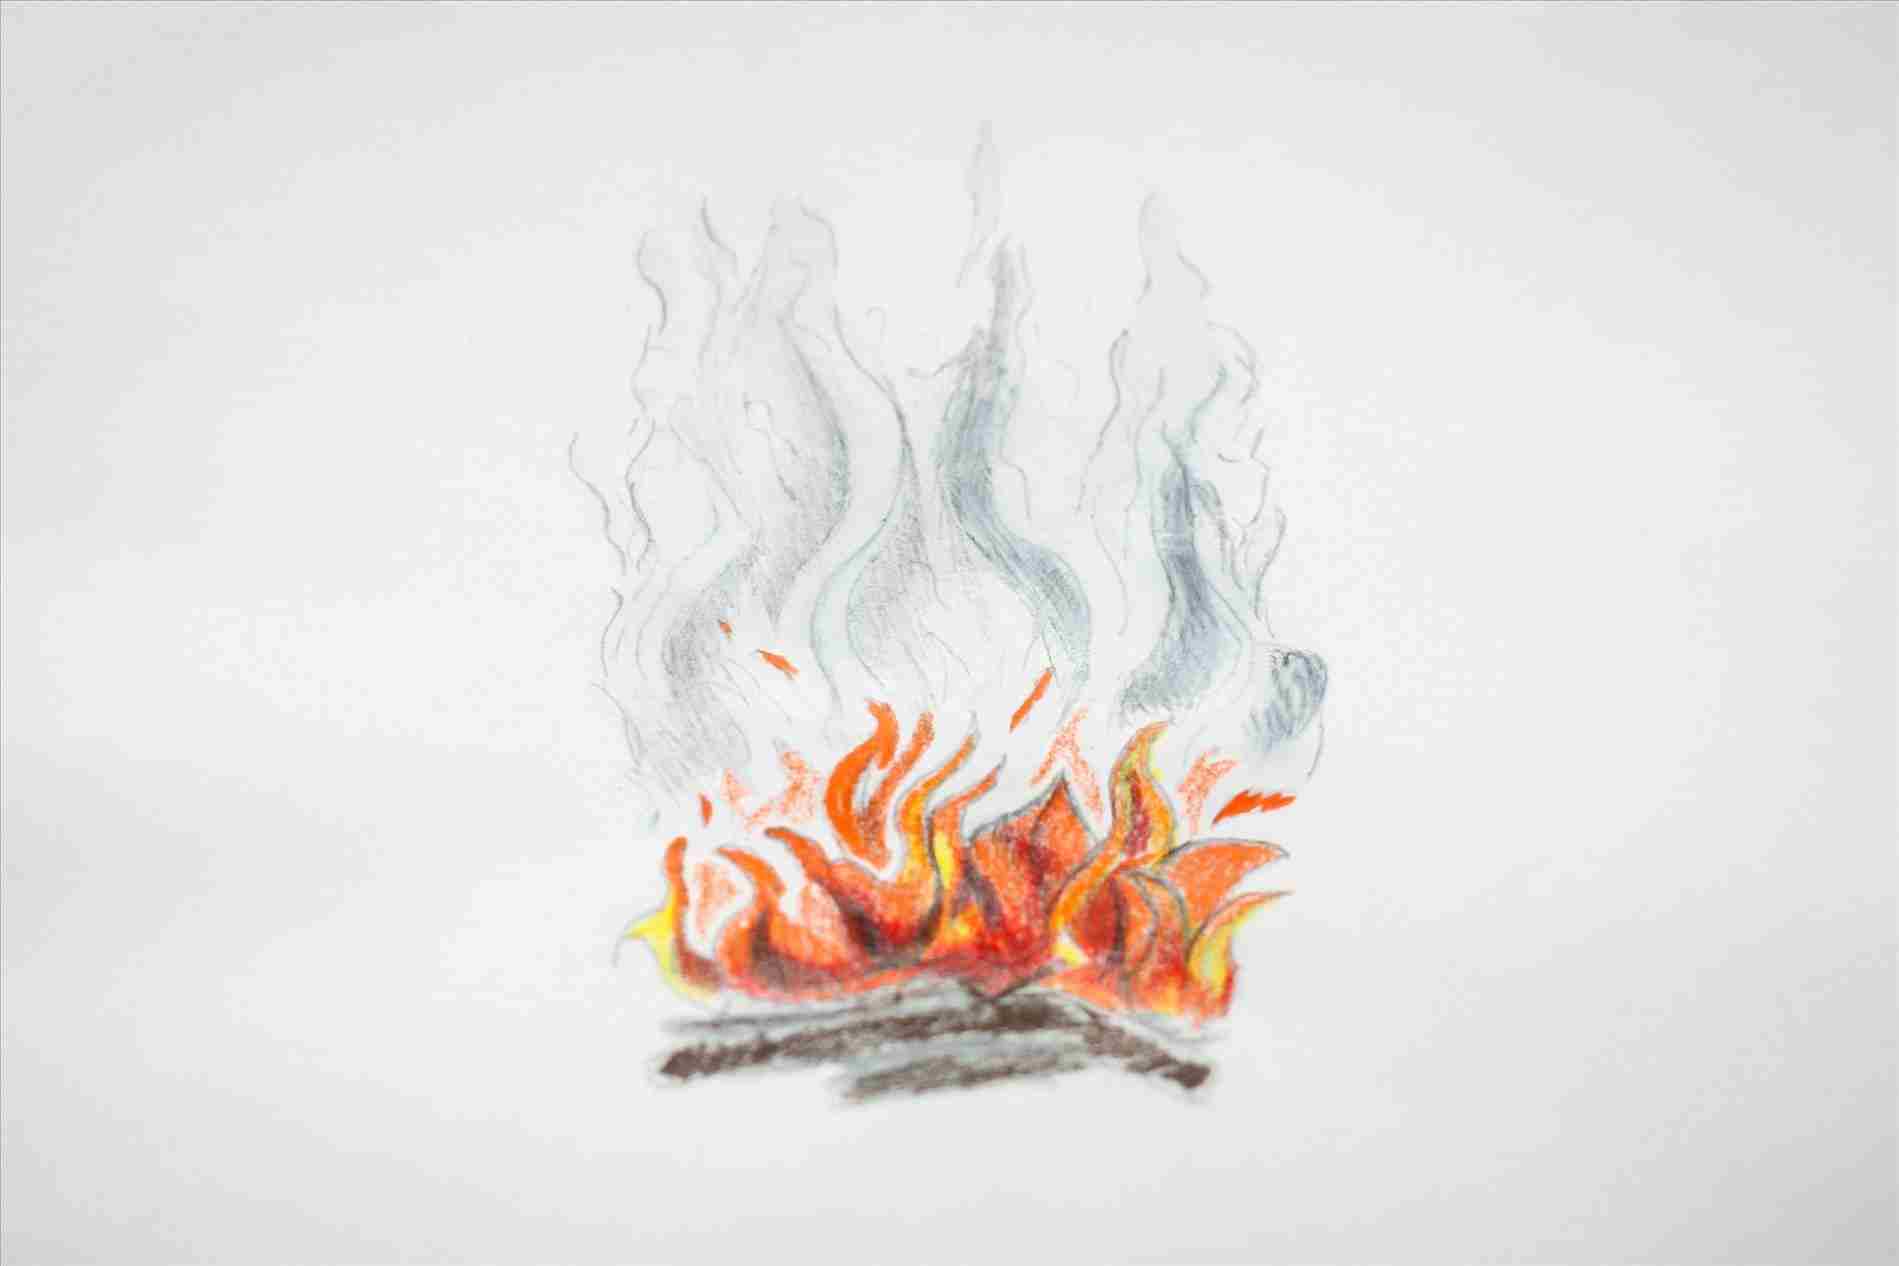
Fire typically consists of three main parts: the base, the middle section, and the tip. The base is usually the brightest and hottest part, often glowing with deep reds and oranges. As the flames rise, they transition into yellows and whites, becoming thinner and less intense. And at the very top, the flames taper off into wispy, almost smoke-like tendrils.
Breaking Down the Elements
- Base: This is where the fire connects to its fuel source. It’s dense, bright, and full of energy.
- Middle Section: Here’s where the colors start to shift. You’ll see a mix of orange, yellow, and white as the flames stretch upward.
- Tip: The tip of the flame is the lightest and thinnest part. It often appears almost transparent, blending into the surrounding air.
Remember, fire is always in motion. Even if you’re drawing a static image, try to capture that sense of movement by varying the shapes and curves of your flames.
Tools You’ll Need for Fire Drawing
Now that you have a better understanding of fire, let’s talk about the tools you’ll need to bring it to life on paper. You don’t need anything fancy to get started, but having the right materials can make a big difference in your results.
Essential Tools
- Pencils: Start with a range of graphite pencils (2B, 4B, 6B) for shading and detailing.
- Colored Pencils: For adding those vibrant hues of red, orange, and yellow.
- Blending Tools: Use blending stumps or tortillons to smooth out your shading.
- Eraser: A kneaded eraser is perfect for lifting highlights and creating contrast.
- Paper: Choose a smooth surface to ensure your colors blend smoothly.
Don’t forget to experiment with digital tools if you’re into digital art. Programs like Adobe Photoshop or Procreate offer brushes specifically designed for drawing flames.
Basic Techniques to Get You Started
Ready to dive into the actual drawing? Let’s start with some basic techniques that will lay the foundation for your fire art. These steps are simple enough for beginners but essential for anyone looking to improve their skills.
Read also:Is The 15 Second Salt Trick Legit Unveiling The Truth Behind The Viral Hack
Step 1: Sketch the Base
Begin by lightly sketching the base of the fire. Think of it as the foundation from which the flames will grow. Use circular or oval shapes to represent the fuel source, whether it’s wood, gas, or something else.
Step 2: Add the Flames
Now it’s time to draw the flames themselves. Start with simple, curved lines that radiate outward from the base. Keep them fluid and dynamic, varying the thickness to mimic the natural flow of fire.
Step 3: Layer Your Colors
Once you’ve outlined the flames, it’s time to add color. Begin with the darker tones at the base, gradually transitioning to lighter shades as you move upward. Layering your colors will give your fire depth and realism.
Remember, practice makes perfect. Don’t be afraid to experiment and make mistakes—that’s how you learn!
Choosing the Right Color Palette
When it comes to fire drawing, your color palette is everything. Fire isn’t just orange and yellow; it’s a vibrant mix of colors that work together to create a stunning visual effect. Here’s a quick guide to help you choose the right shades:
- Reds: Use deep reds for the base of the fire to convey heat and intensity.
- Oranges: These are your mid-range colors, perfect for the middle section of the flames.
- Yellows: Bright yellows add light and energy to your fire.
- Whites: Use white sparingly to highlight the tips of the flames and create contrast.
Don’t forget about shadows! Adding black or dark gray around the edges of your flames can make them pop off the page.
Advanced Tips for Realistic Flames
Once you’ve mastered the basics, it’s time to take your fire drawing to the next level. Here are a few advanced tips to help you create more realistic and dynamic flames:
Tip 1: Study Real Fire
Nothing beats observing real fire in action. Watch videos, look at photos, or even light a candle to see how fire behaves. Pay attention to the way the flames move, change shape, and interact with their surroundings.
Tip 2: Use Contrast
Contrast is key when it comes to realism. Make sure there’s a clear difference between the bright, glowing parts of the fire and the darker shadows around it. This will give your drawing depth and dimension.
Tip 3: Experiment with Textures
Fire isn’t just about color; it’s also about texture. Try using different strokes and techniques to mimic the flickering, dancing nature of flames.
Common Mistakes to Avoid in Fire Drawing
Even the best artists make mistakes, but recognizing them can help you avoid them in the future. Here are a few common pitfalls to watch out for:
- Ignoring Movement: Fire is always moving, so static flames can look unnatural. Make sure your drawing captures that sense of motion.
- Overusing Colors: Too much of one color can make your fire look flat. Balance your palette to create a more dynamic effect.
- Forgetting Shadows: Shadows are just as important as highlights. Without them, your fire might look flat and two-dimensional.
Remember, mistakes are part of the learning process. Don’t be too hard on yourself if things don’t turn out perfectly the first time.
Incorporating Fire into Different Art Styles
Fire isn’t just for realistic drawings; it can be incorporated into a variety of art styles. Whether you’re into abstract art, cartooning, or even manga, there’s a place for fire in your creations.
Abstract Fire
Abstract fire art focuses on emotions and impressions rather than realism. Use bold colors and sweeping strokes to convey the energy and intensity of fire.
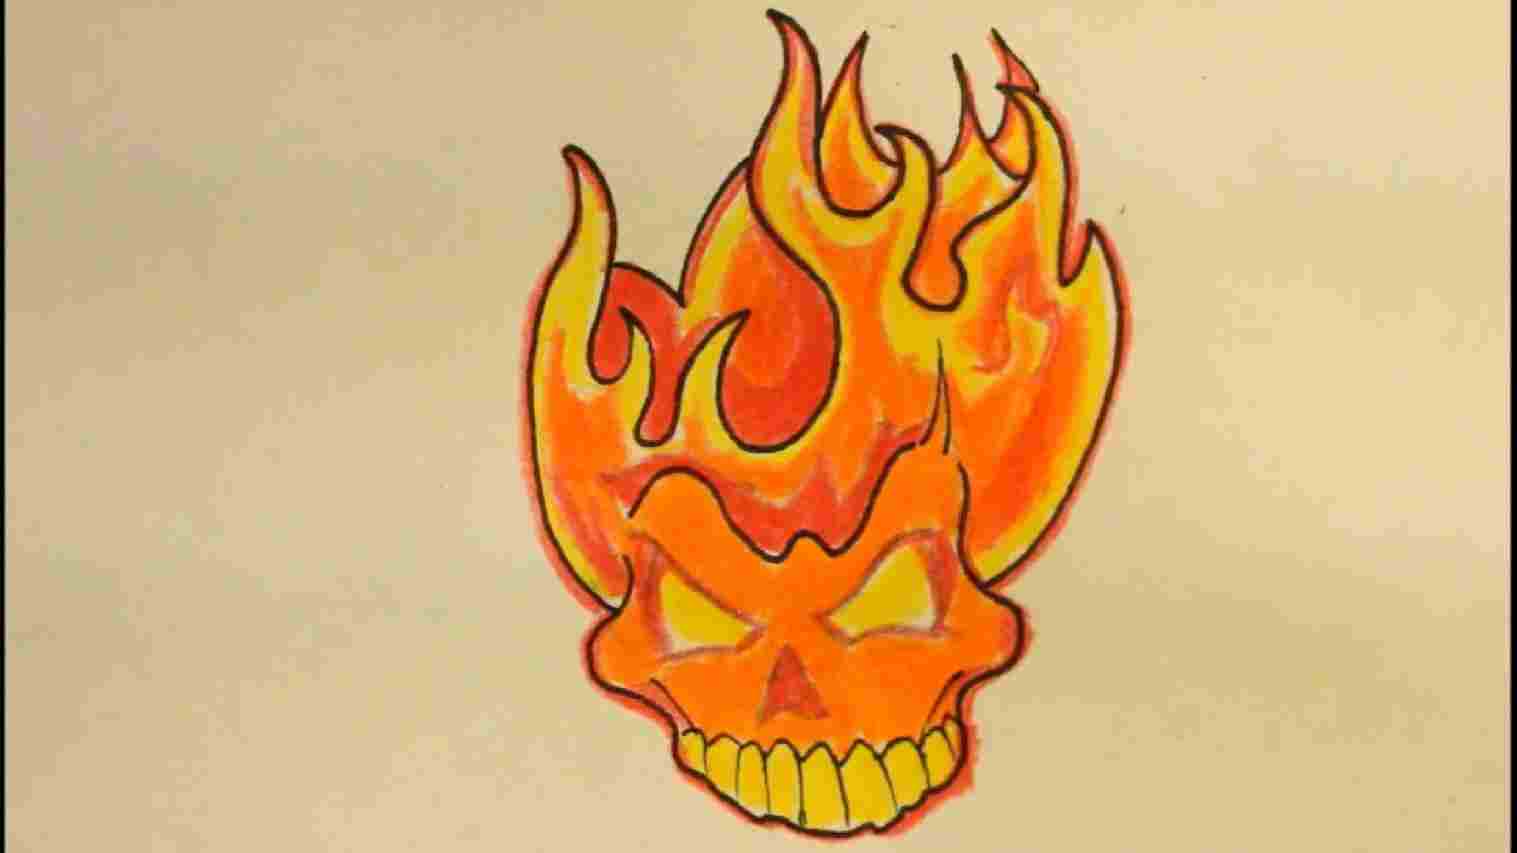
Cartoon Flames
Cartoon-style fire is all about simplicity and fun. Use exaggerated shapes and bright colors to create flames that pop off the page.
Manga Flames
In manga, fire often represents power and passion. Use sharp, angular lines to give your flames an edgy, dramatic look.
Finding Inspiration for Your Fire Art
Inspiration can come from anywhere, so don’t be afraid to explore different sources for your fire drawing ideas. Look at nature, mythology, or even pop culture for inspiration. Here are a few ideas to get you started:
- Draw a phoenix rising from the ashes.
- Create a fiery landscape with molten lava rivers.
- Illustrate a dragon breathing fire.
The possibilities are endless. Let your imagination run wild and see where it takes you!
Practice Ideas to Sharpen Your Skills
Practice is the key to improvement, so here are a few exercises to help you refine your fire drawing skills:
- Draw flames in different environments, such as a campfire, a candle, or a wildfire.
- Create a series of fire-themed doodles, experimenting with different styles and techniques.
- Challenge yourself to draw fire in motion, capturing its fluidity and unpredictability.
Remember, the more you practice, the better you’ll get. So keep those pencils moving!
Wrapping Up: Your Journey with Fire Drawing
Fire drawing is more than just an artistic skill; it’s a journey of discovery and creativity. By understanding the anatomy of fire, mastering basic techniques, and experimenting with different styles, you can create stunning works of art that capture the essence of fire.
So, what are you waiting for? Grab your tools and start drawing those flames. And when you’re done, don’t forget to share your masterpiece with the world. Who knows? You might just inspire someone else to pick up a pencil and join you on this fiery adventure.
And hey, if you enjoyed this guide, why not check out some of our other articles? We’ve got tons of tips and tricks to help you become the artist you’ve always dreamed of being. Happy drawing, and remember—keep that creative spark alive!