Ever heard of the 15 second salt trick in the shower? Well, buckle up because this is about to change your life, or at least your bathroom game. Imagine stepping into the shower and coming out feeling like you’ve had a spa day without leaving the house. It’s not just about cleanliness anymore—it’s about self-care, rejuvenation, and making your everyday routine a little more magical. So, let’s dive right into it and explore how this simple trick can make waves in your world.
This isn’t just another fad or trend you’ll forget about tomorrow. The 15 second salt trick has been gaining traction for all the right reasons. It’s easy, effective, and most importantly, it works wonders for your skin and overall well-being. Whether you’re battling dryness, irritation, or simply want to up your shower game, this trick is here to save the day.
Now, I know what you’re thinking—salt in the shower? Isn’t that a bit… salty? Trust me, by the time you finish reading this, you’ll be wondering why you didn’t start doing this years ago. So grab your favorite shower gel, some Epsom salt, and let’s get to it!
Read also:Exploring The World Of Hindi Movie Download Websites A Comprehensive Guide
Why the 15 Second Salt Trick is a Game-Changer
Let’s talk science for a sec. Salt isn’t just something you sprinkle on your fries or keep on your table. When used correctly, it’s a powerhouse of goodness for your skin. The 15 second salt trick taps into the natural properties of salt to work its magic while you’re already doing something you do every day—showering. Sounds pretty efficient, right?
Here’s the deal: salt helps exfoliate, detoxify, and balance your skin’s pH levels. It’s like giving your skin a spa treatment without the hefty price tag. Plus, it’s super easy to incorporate into your daily routine. You don’t need any fancy equipment or complicated steps—just a few seconds and you’re good to go.
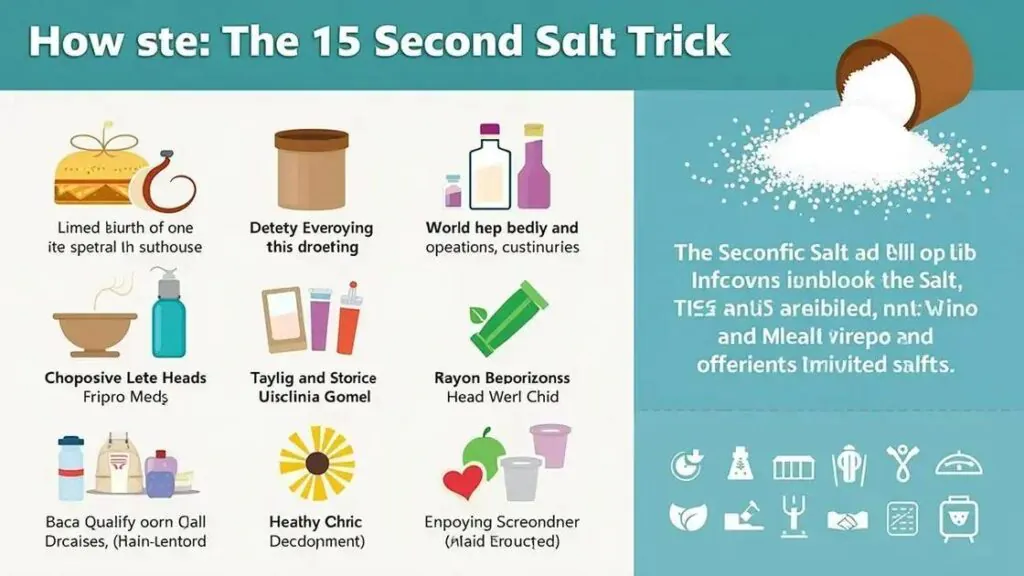
What You’ll Need for the 15 Second Salt Trick
Before we dive into the step-by-step guide, let’s talk about what you’ll need. Don’t worry, it’s not a long list, and chances are you already have most of these items at home. Here’s a quick rundown:
- Epsom salt or sea salt (your choice)
- Your regular shower gel or body wash
- A small bowl or container (optional)
- Your favorite loofah, sponge, or scrubber
See? Not too complicated. Now that we’ve got the basics covered, let’s move on to the fun part—the actual trick!
A Step-by-Step Guide to the 15 Second Salt Trick
Alright, here’s where the magic happens. Follow these simple steps, and in no time, you’ll be a salt trick pro. Let’s get started!
Step 1: Prep Your Shower Area
Make sure your shower area is ready to go. You don’t want to be fumbling around for supplies while the water’s running. Have your salt, shower gel, and scrubber within easy reach. Trust me, this will save you a lot of hassle.
Read also:Unveiling The Wealth Of Jeff Ross A Comprehensive Guide To His Net Worth
Step 2: Wet Your Skin
Turn on the shower and let the warm water run over your body. This will help open up your pores and prepare your skin for the salt treatment. Take a few moments to relax and enjoy the warmth—it’s all part of the experience!
Step 3: Mix Salt and Shower Gel
Now for the fun part. Take a small handful of Epsom salt or sea salt and mix it with your regular shower gel in the palm of your hand. If you want to get fancy, you can use a small bowl or container to mix them together. The ratio doesn’t have to be exact—just enough salt to create a gritty texture.
Step 4: Apply the Mixture to Your Skin
Gently rub the salt-shower gel mixture onto your skin in circular motions. Focus on areas that tend to get dry or rough, like your elbows, knees, and feet. Be careful not to scrub too hard, especially on sensitive areas. You want to exfoliate, not irritate!
Step 5: Rinse Off
Once you’ve covered all the necessary areas, rinse off the mixture thoroughly with warm water. Make sure no salt is left on your skin, as it can cause irritation if left on too long.
Step 6: Moisturize
After rinsing, pat your skin dry with a towel and apply your favorite moisturizer. This step is crucial because it locks in the hydration and keeps your skin feeling soft and smooth all day long.
Benefits of the 15 Second Salt Trick
Now that you know how to do the trick, let’s talk about why it’s so beneficial. Here are just a few of the amazing things this simple routine can do for your skin:
- Exfoliates dead skin cells
- Detoxifies and cleanses pores
- Improves circulation
- Reduces inflammation
- Leaves skin feeling soft and smooth
Who wouldn’t want all of that from just 15 seconds of effort? It’s like winning the skincare lottery without even trying too hard.
Common Questions About the 15 Second Salt Trick
Chances are, you’ve got some questions about this trick. Let’s tackle a few of the most common ones:
Can I Use This Trick Every Day?
Absolutely! The 15 second salt trick is gentle enough to use daily, especially if you have normal to dry skin. Just make sure you’re not scrubbing too hard, as that can cause irritation.
What Type of Salt Should I Use?
Both Epsom salt and sea salt work great for this trick. Epsom salt is known for its soothing properties, while sea salt is rich in minerals that benefit the skin. It really comes down to personal preference.
Will This Work for Sensitive Skin?
Yes, but with a few precautions. If you have sensitive skin, start by using a smaller amount of salt and apply it gently. You can also mix the salt with more shower gel to create a smoother texture.
Scientific Backing Behind the Salt Trick
Let’s get nerdy for a moment. Salt isn’t just a kitchen staple—it’s also a powerful skincare ingredient. Studies have shown that salt can help reduce inflammation, improve skin texture, and even boost circulation. Plus, the minerals found in sea salt and Epsom salt are great for nourishing and hydrating the skin.
One study even found that using salt in your skincare routine can help improve conditions like eczema and psoriasis. So, not only does the 15 second salt trick make your skin feel amazing, but it can also help with specific skin issues.
Tips for Maximizing the Benefits
Here are a few tips to make the most out of your salt trick experience:
- Use warm water instead of hot to avoid drying out your skin
- Add a few drops of essential oil for extra relaxation
- Moisturize immediately after showering to lock in hydration
- Experiment with different types of salt to find what works best for you
These small tweaks can make a big difference in the effectiveness of the trick. Plus, they add an extra layer of customization to your routine.
Conclusion: Time to Upgrade Your Shower Game
And there you have it—the ultimate guide to the 15 second salt trick in the shower. This simple yet powerful routine can transform the way you think about skincare and self-care. Whether you’re dealing with dry skin, inflammation, or just want to feel like you’re treating yourself to a spa day every morning, this trick is here to help.
So, what are you waiting for? Grab your salt, hop in the shower, and experience the magic for yourself. And don’t forget to share your results with us in the comments below. We’d love to hear how this trick has changed your life—or at least your shower routine!
Table of Contents
- Why the 15 Second Salt Trick is a Game-Changer
- What You’ll Need for the 15 Second Salt Trick
- A Step-by-Step Guide to the 15 Second Salt Trick
- Benefits of the 15 Second Salt Trick
- Common Questions About the 15 Second Salt Trick
- Scientific Backing Behind the Salt Trick
- Tips for Maximizing the Benefits
- Conclusion: Time to Upgrade Your Shower Game